|
Ribbon Blankets
These are only for personal use only, PLEASE Do NOT make these for profit. I am trying to HELP other people make
these for their children not help people make money.
Get two pieces of fabric, any type you like. I use fleece, and some I've used fleece and satin. Whatever shape you like,
whatever length you like. This is your baby, have fun with it.
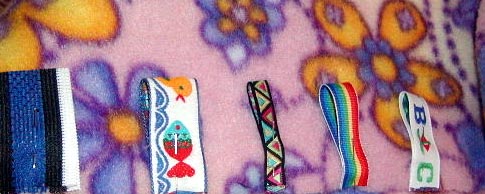
I use about 4" ribbons, any size works, you might want to vary the sizes some. I prefer 4-5" because my babys fingers
I figured wouldn't get too tangled, and it isn't long enough really for her to choke on.
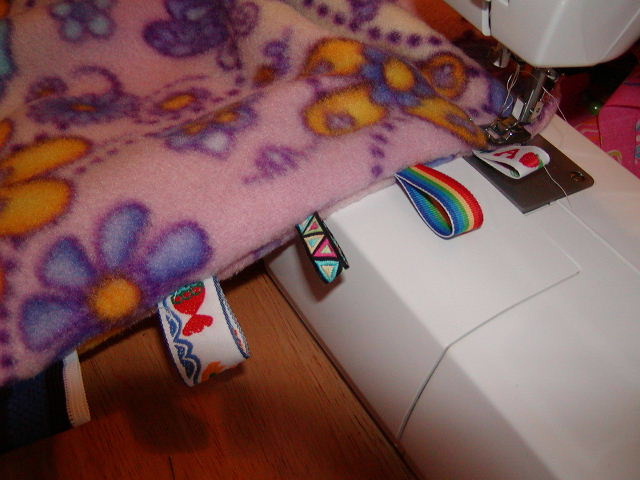
With the right side up, pin your ribbons to the edge of your fabric. I usually put them about 2-3 inches apart. You again,
can do whatever you want. Pin your ribbons all the way around and then pin the edges of your fabrics together with the right
sides in the middle of the "fabric sandwich" (wrong sides out)
|
|
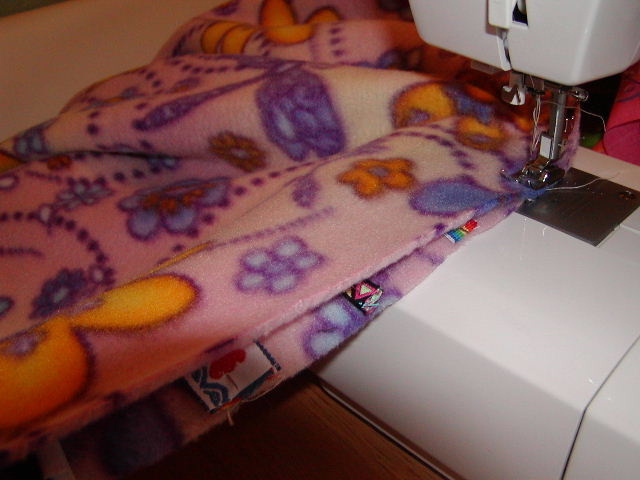
(ABOVE) With edges and corners
pinned together wrong sides out, start sewing about 2/3 of the length of one side. Go all the way around until you are almost
at where you started....leaving enough space in one of the sides to put your hand through (about 4" open). I use the edge
of my presser foot as the guide. Be sure to reverse stitch when you start and where you end so it doesn't split open when
you're turning it right side out.
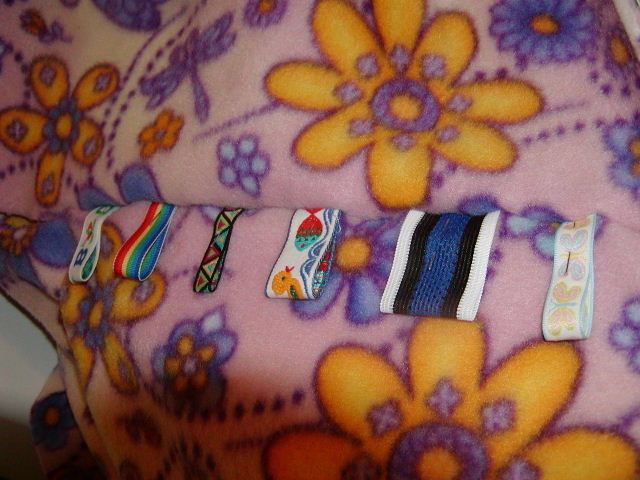
Trim the corners of the blanket while inside out so you'll get a good point (not
too close to your stitching though so it doesn't open up later). Remove the pins and pull your blanket right side out
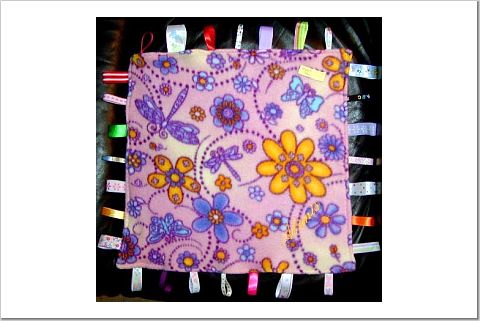
through the opening. When you open it your ribbons will look something like this (Below)
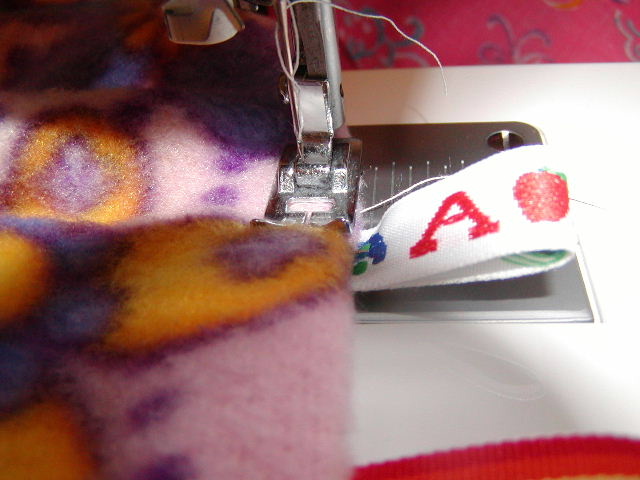
After turning the fabric
right side out and making the corners point, work the fabric between your fingers to make sure to get the fabric as close
to matching the edges as possible. Turn the edges of the opening you had earlier inward and pin it closed.
Again, I used the presser
foot as a guide, and either with a decorative stitch or a straight stitch, sew all the way around. Voila, a ribbon blanket
is made for your little ones to love. Great as GIFTS also. Again, PLEASE do NOT sell these for profit. God Bless and enjoy!
If you want to see more, or get inspired by what you can do now, check out here
|